Share this article
Get the week's best marketing content
Booking is one of the most important activities for any website business.
Booking is one of the most important activities for any website business. It helps them to manage reservations or scheduled appointments more effectively, creating more revenue and saving more time.
So do you want to know how to create a booking form that is eye-catching and appealing? In this article, we will show you exactly how to create a booking form in WordPress, in order to help you boost your business efficiency.
Why choose booking form WordPress?
Most people prefer booking online, rather than calling directly to the business to set up an appointment. Your clients are one of them.
Creating a booking form in WordPress would allow your clients or customers to make reservations, book tickets or appointments online, which is much easier and more convenient, as they can do it almost anywhere in silence. Almost everyone would want to do this in privacy.
Another advantage of booking online is that it can help you do certain things automatically. For instance: collect online payments, send reminder emails and so on. Not only does this make your business look more modern, it also saves you from a lot of boring work.
With that being said, we will provide you 2 ways, with full instructions on how to create a booking form in WordPress.
Creating booking form WordPress using WPForms
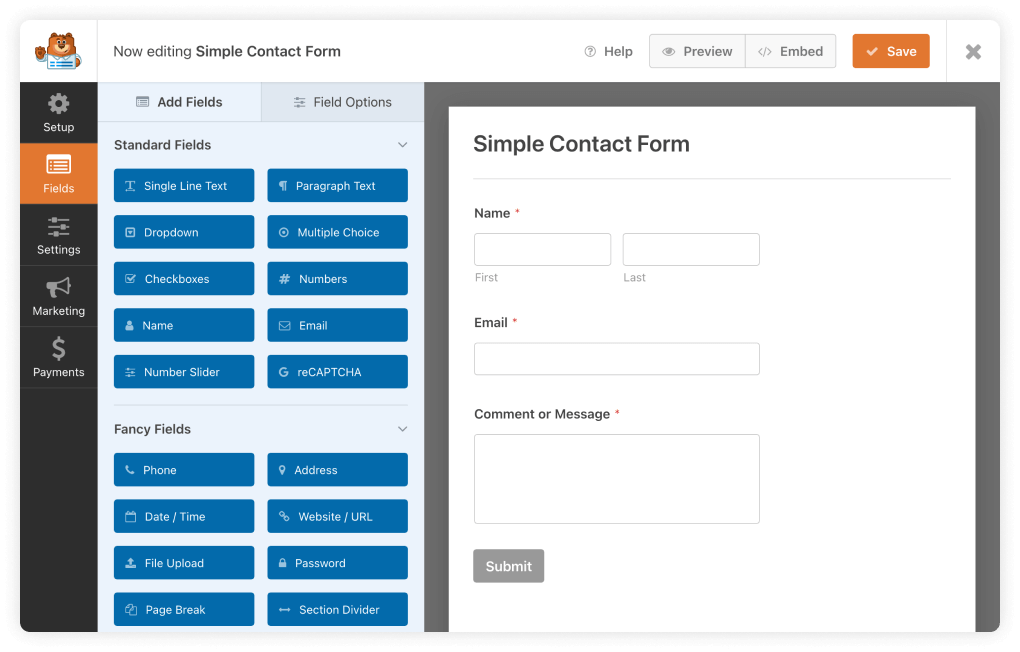
WPForms is one of the most common form builders for WordPress. It is used widely all over the world, by more than 5 million websites. You can start creating a booking form using their booking form plugin WordPress, called ‘Drag & Drop WordPress Form Builder’.

This includes some pre-made templates that you can use, as it is or customize your own. These templates consist of: Feedback forms, event planning, and user registration.
Furthermore, WP collaborates with some of the most well-known email marketing providers, which simplify the process of sending reminder emails or notification to your customers, as well as all of your staff.
You can enjoy the free version on its own, however, we recommend you to go for the pro version, due to the enormous amount of templates and addons.
In order to use WPForms, you must first install the plugin, then activate it. The installation process is quite simple and straightforward, all you have to do is follow their guides and you should be good to go.
When you have finished installing and activating, you can now start creating your own booking form. Go to WPForms >> Settings in the WordPress dashboard, acquire the license keycode in the ‘WPForms Account’ tab, and then enter the code.
Next, choose WPForms >> Add New and name your booking form. You can choose between many templates in WPForms, from Education, Feedback to Event Planning and so on.
You can preview the template before deciding to use it, by clicking on the ‘View Demo’ button of the template, which will be opened in a new tab for you to check. After that, if you are happy about the template, click on the ‘Use Template’ button to start designing further.
Based on your need or the services that you provide, you can choose between many templates that have the fields that you need your customer to fill in. Feel free to explore.
Bear in mind that you can customize all the fields by clicking on it, as well as adding more fields by choosing the ‘Add Fields’ tab, then drag to the desired area. So basically, just choose which template that has the best appearance in your opinion, then you can add whichever field that is not included.
Once you have done editing, choose ‘Save’ to save the progress and move to the next step, which is notification set up. This feature of WPForms allows you, or your team, to receive a notification email whenever there is a person filling in the form.
Go to the ‘Setting’ section, choose the Notification tab and customize which email address you want to send email to. You can add more than one email to send to everyone in your team, remember to separate the email addresses with a coma.
Finally, after finishing your booking form, you can publish it on your main site. All you have to do is open the page that you want to place the form in, click on the ‘+’ icon and type ‘WPForms’ to add the WPForms block to the webpage.
In the WPForms block, choose the created booking form in the dropdown menu, update your site, publish and you are good to go.
Use Formidable Forms to make a booking form
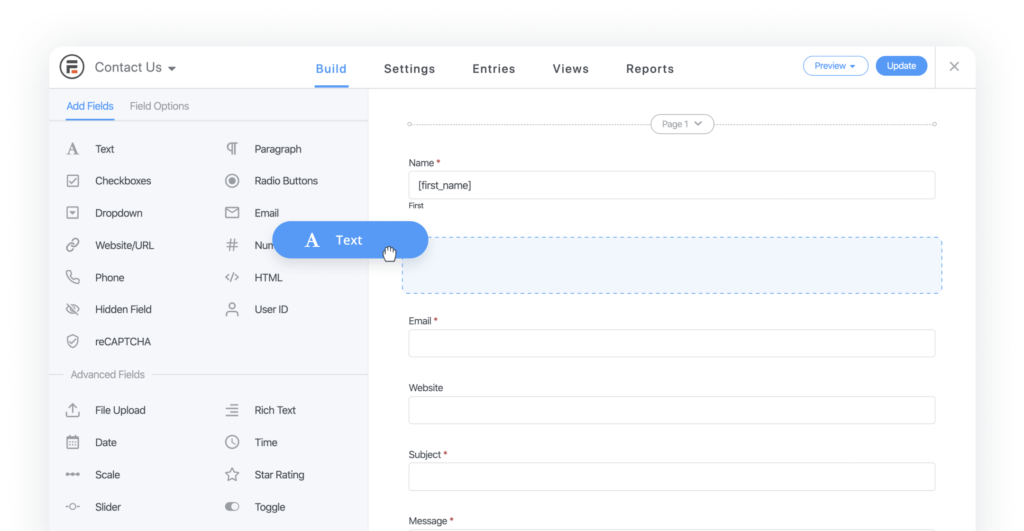
Formidable Forms Pro is slightly cheaper than WPForms Pro, with some of the similar features like offering many eye-catching templates, a drag & drop interface or integrated with many email marketing providers to support the sending notification process.
Formidable Forms can also work smoothly with other tools like WooCommerce or Memberpress, in case you are using one of these services.

Similar to WPForms, it is required that you must install and activate Formidable Forms. You can do this with the free version first, and then buy and upgrade to the pro version later on.
Once you have finished setting up Formidable Forms Pro, click on Formidable >> Add New, and then choose the suitable template, you should have multiple options to choose from, so feel free to explore.
After that, you should name your form, enter the description and then choose ‘Create’ to launch it on the Formidable Forms editor.
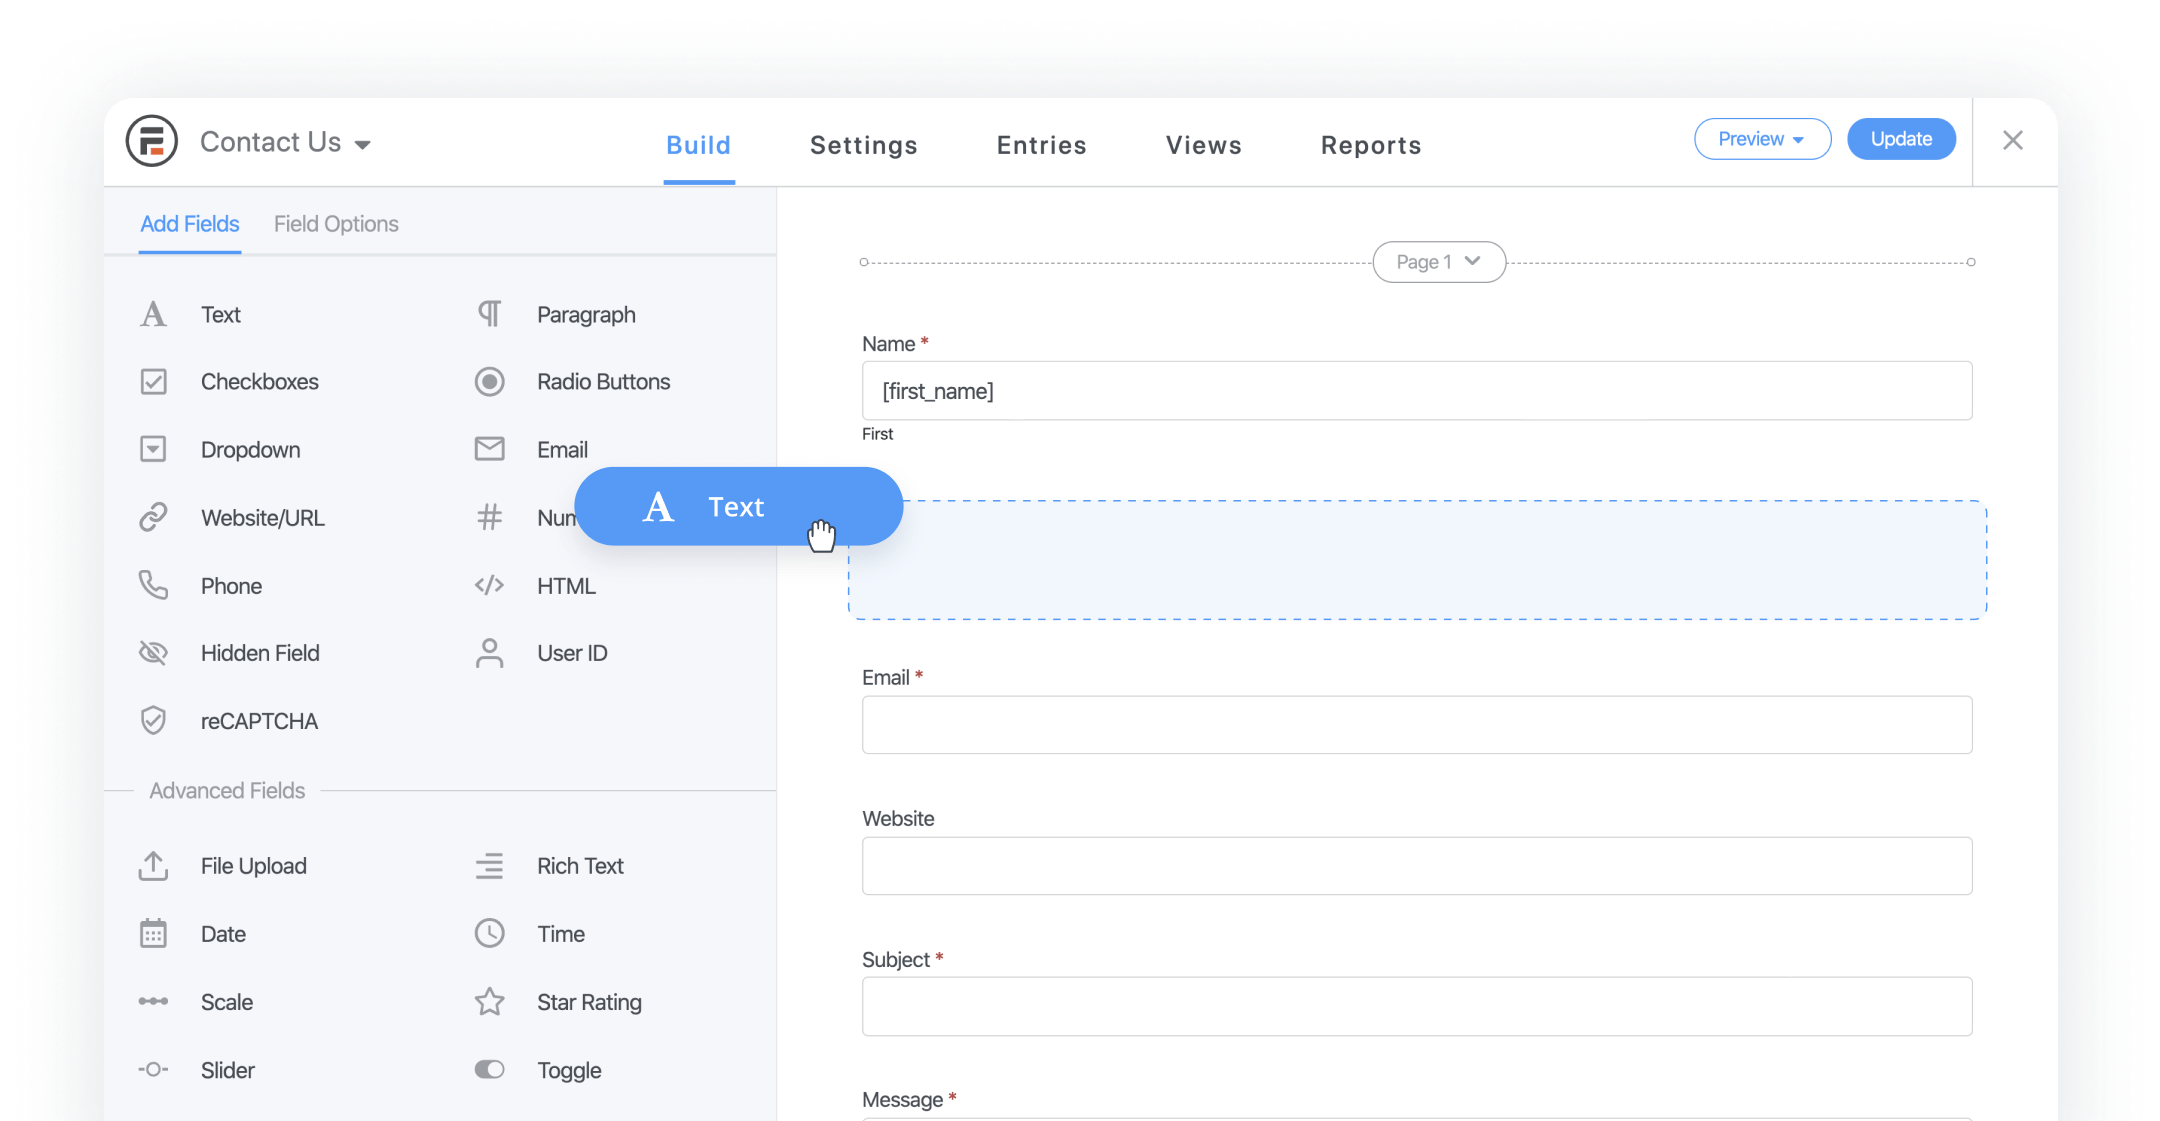
On the screen, click on a field to edit the information, with all the options displayed on the sidebar. You can also add more fields in the form and customize them, if more information is needed.
Finally, choose ‘Update’ to save your progress. Choose ‘Embed’ on top of the screen to add the booking form to your website and you are done!
Conclusion
Learning how to create a booking form on your website is necessary to improve your business performance. We hope that you find our article useful. Make sure to follow us for more interesting tips and tricks of using WordPress. Thank you and have a good day!


